When I bought my house, one of the rooms was ideal for setting up a home theater. I started thinking about my layout and plans to see what would maximize my surround sound quality and began looking at ceiling speakers.
Of course, ceiling speakers are a lot of work to get in there, but they are indeed one of the best ways to get that surround sound.
Why are Ceiling Speakers Worth it for Surround Sound?
Ceiling speakers are ideal for both multi-room music setups as well as in-home theater rooms. They can also be mounted behind the seating area as rear channels that bring the theater experience of surround to life.
I’m glad I looked into them because ceiling speakers are the perfect asset to your home theater.
They give you a more immersive experience. And yes, while they’re a bit of work, they are absolutely worth it.
There is nothing more phenomenal than watching a movie and feeling like you’re in it or programming your music to fit different moods in one room or many other ones.
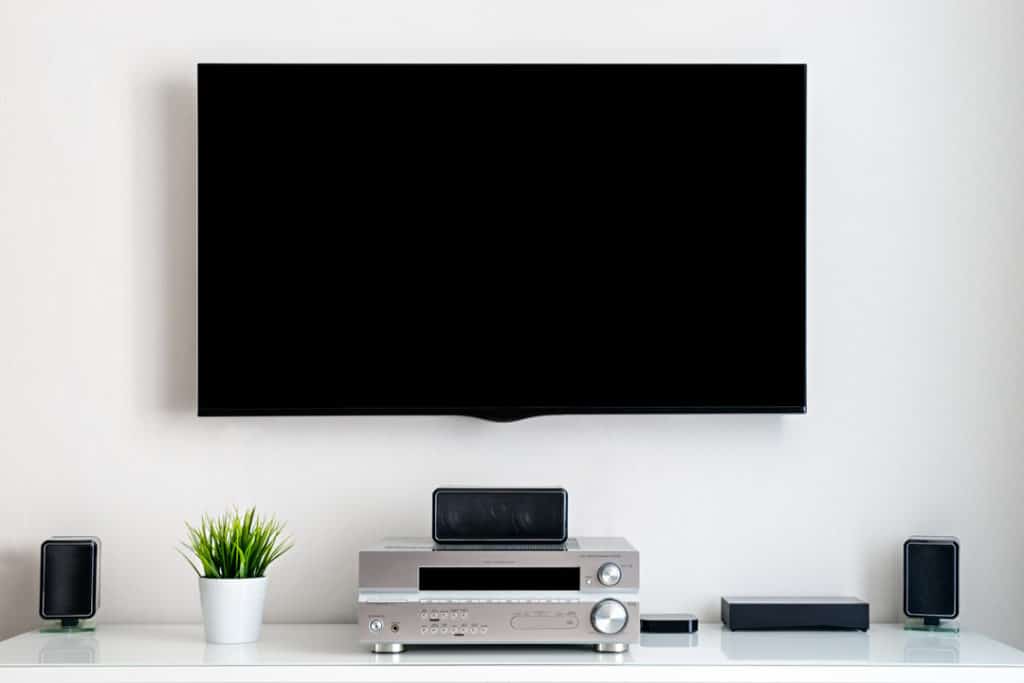
4 Reasons Why You Should Use Ceiling Speakers for Surround Sound
I will say this…not every home theater will be an ideal match with ceiling speakers. If your room is small, you may just have enough to create the ambiance you want.
And for those of you that don’t own your own property, your landlord might not take kindly to you ripping up the ceilings and walls to do the install especially if he or she has invested a substantial amount in soundproofing the rental apartment.
Even if they are, what would you do when you move? Leave it all behind? No way!
Assuming you do own your property, the room is large enough, and it’s a wise move to make the investment into ceiling speakers, here are some reasons for why you should get them.
1. They stay hidden
Today’s speakers aren’t as foreboding as older models, but still, it can clutter a room.
Even a large and airy room feels more constricted when you have tons of speakers ominously hanging around.
Ceiling speakers add a special aesthetic to the room. They also add that ‘WOW’ factor when guests come for movies or to celebrate with music.
The sound surrounds you all and all with fewer cables in the way too. Plus, if you have that one drunk friend that is always staggering around, you won’t have to worry about them tripping on cables and destroying your setup.
2. You get so much more flexibility
Mounting speakers in your ceiling means you don’t have to position your furniture around floor speakers.
Add to that the fewer cables, and it’s awesome. You can also look into the option of swiveling ceiling speakers, which gives you more liberty for how you arrange your room.
3. They really complete that surround sound feel
If you have a set of speakers that sit on your bookshelf or monitors, you might not want to expense a new surround sound system.
Instead, ceiling speakers let you mount them behind the seating, and they can become your rear channels without buying a whole entire new system.
4. They make the sound more immersive
What’s the best part of going to a movie theater? Anyone? Anyone? It’s being virtually swallowed up in the sound. You feel like you’re in the movie. It’s so easy to get lost in that world for a couple of hours.
Surround sound gives you that immersive feeling you love about the movies, and you can absolutely create that at home through ceiling speakers.
You will also want to give thought to a backbox to help keep the sound of your in-ceiling speakers where you want it.
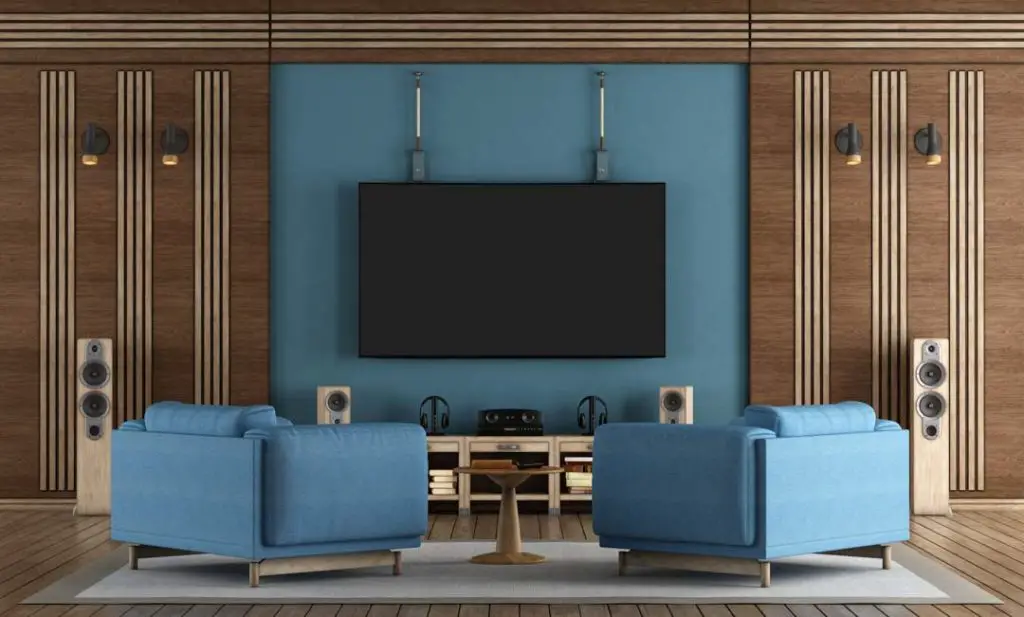
How Many In-Ceiling Speakers Do You Need in a Room?
If your room is bigger than 3m x 3m, you only need one pair of ceiling speakers. However, if your room is more like 5m x 5m, two pairs will balance out the sound better for a more immersive surround sound experience through in-ceiling speakers.
Of course, it’s not so easy as deciding you want those in-ceiling speakers. You need to consider the size of your room and how many in-ceiling speakers will make that magic happen.
As I know a bit about speakers and tend to geek out with them, I’d like to share what my hours of tinkering and experimenting have garnered for me.
The rule of thumb for larger rooms is that two pairs of speakers will balance the sound.
In-wall and ceiling speakers should be roughly 18 to 24 inches away from any other adjacent wall or ceiling.
It still not quite this simple though, since your intended use for it as well as room size and shape all come into play.
Further still, you’ll have to consider sound level and any other speakers you’ll be using with your home speakers.
But I will say this… it’s way better to have more speakers in your setup than spread yourself too thin.
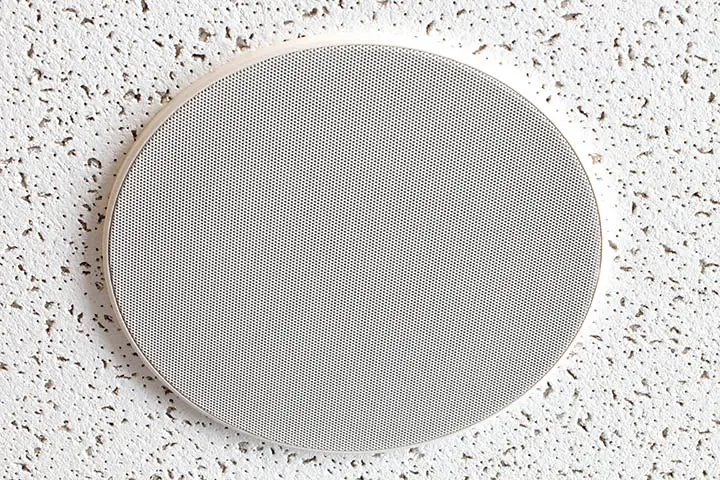
What Size Ceiling Speakers Should You Get?
And yes, we absolutely can’t forget to discuss speaker size or where would we be? Speakers produce different sound levels depending on their size.
The larger they are, the louder they tend to be though there are exceptions to that rule.
Don’t just buy the first thing you see in your budget though. Take a look at what’s out there that are the right size for your home theater.
I’ll discuss speaker sizes so you can get a little more details on how to decide, so keep reading.
Standard Speaker Sizes
In most cases, ceiling speakers are available as 6.5” or 8” in diameter. This size is for the cone, not for the actual face of the speaker, which is going to be bigger, though by just a little bit.
Yes, there are bigger and smaller options, but you will tend to see these as the most commonly available sizes.
Which one is right for you? Let me break it down a bit more…
The 6.5” ceiling speakers are usually a good size for standard size rooms.
They’re also very versatile and give a good performance. A pair or even two of them in this size definitely gives good surround sound coverage in this size of living space.
8-inch ceiling speakers are better for the larger spaces.
They’re good in home theaters, but the room should be larger. Still, they can function for standard appeal because the bass can give you a good feeling.
The larger size creates more bass, and it could mean you don’t need a subwoofer when you go for 8-inch sizes.
Another benefit of 8-inch speakers is that you can use fewer of them than the 6.5-inch ones, but if you put too many, the bass is going to be a bit too much.
One 8-inch pair of speakers will usually do just fine, but you should think about uniting them with other speakers.
But larger spaces really do best with about 2 pairs of the 8-inch ceiling speakers.
Still a little unsure? Use my rule of thumb: smaller rooms are best with smaller speakers and more of them while larger rooms are better with 8-inch speakers.
Where should I position in-ceiling speakers for surround sound?
Surround speaker layouts should be planned well in advance of cutting holes in the ceiling. They should be spaced the same distance from one another as the front left and right speakers. With swivel capabilities, you can point them toward the seating area.
But where you place them also depends on how you’re going to use it. Is it background music? Or surround sound with immersive perfection? Thinking about these things will ensure you get the right layout for your space.
This is how you can get the best in-ceiling speaker layout
These quick tips will help you maximize your layout for best sound quality:
- Keep gaps out of your sound, or you’ll get loud sounds in some places while it will be much too quiet in other spots.
- For surround sound, use a placement guide but with ceiling speakers as back channels.
- When using your speakers in a variety of applications, consider whether you want the sound pounding out from behind you all the time.
- Speaker layout should be planned according to furniture or where you might put it. Ceiling speakers can’t be moved like other speakers, so plan ahead for now as well as future setups.
- When you add to your surround sound with ceiling speakers, you may want to consider putting them in the middle of the room. This gives you full coverage all over.
I absolutely recommend you draw your home theater plans up to figure out your personal best placement.
No need to be an artist here, but the goal is to get a rough feel of what will work best.
Styling it like a floorplan really helps you see what’s going on. It doesn’t have to be drawn to scale though that will make it much more technical.
Sketch that floorplan and then add the TV and furniture where it will be when the system is set up.
It’s a form of helpful planning, for you really don’t want to start cutting and making a mess only to realize it’s not ideal where you were thinking of putting it.
You can also put your speakers on the floor to correspond to where they will eventually be in the ceiling.
You can temporarily wire them and play music through them to listen and see if there are any blind spots, and if the speakers are providing enough coverage for your space.
And now, once you’ve planned and shopped, it’s time to install your ceiling speakers. Read on to see how!
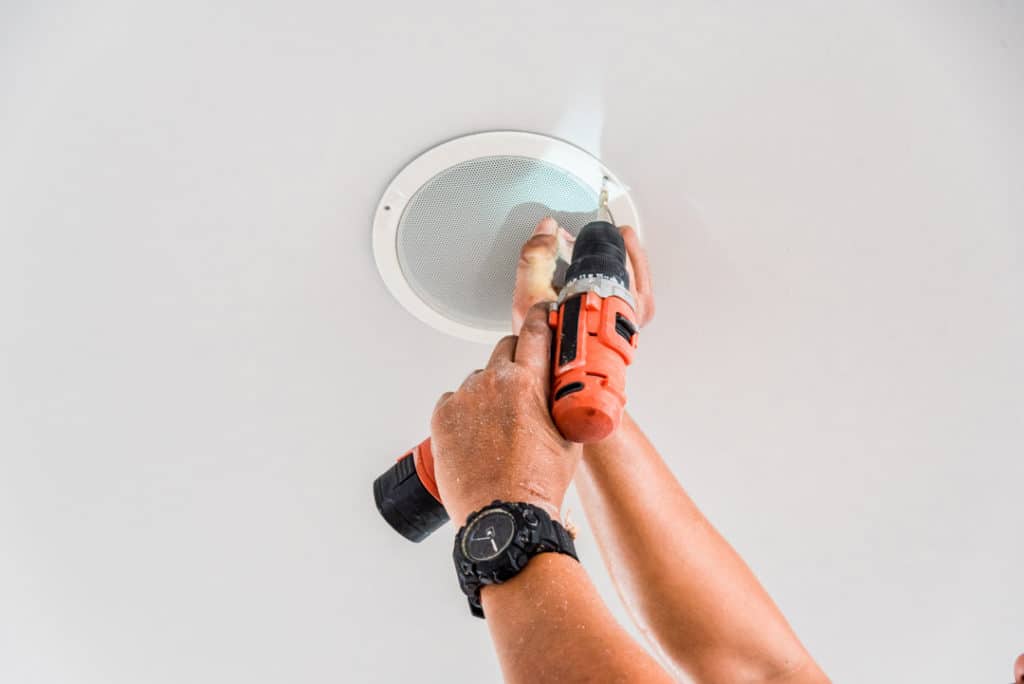
How To Install Ceiling Speakers in 6 Easy Steps:
Installing ceiling speakers is a fairly large task. You need to be the handy type to do it. And if you aren’t, that’s fine because you can simply hire a general contractor to help you do the right cuts and wiring to get it all set up right.
1. Finalize where the speakers are going
Not only will you need to be sure of where you will put the speakers, but once you find those sweet spots, you should test the ceiling to find supporting beams, the wiring, and all that good stuff.
If you have a stud detector, this will help prevent you from drilling random holes all over your ceiling.
2. Now drill a small hole
When you’ve figured out via stud detector what’s happening, you can drill a small hole. You’ll want to insert a piece of wire so you can test it out.
Wrap it in electrical tape to prevent problems and run it, so it’s about the diameter of the speaker. Doing this without obstruction means the speaker should be easy to install in that spot.
3. Protect yourself from dust
Any time you cut into drywall or plaster, there’s going to be dust. Quite a lot of it actually.
So I recommend you cover your furniture before this begins. Having a friend help with a vacuum hose while you cut can really cut down on the dust clouds. Also, wear construction masks. You don’t want to breathe in any of that!
4. Cut the holes
When placement plans are finalized and secured, go ahead and use an electric saw or jigsaw for the job. These will make it go a bit faster.
5. Wire in the speakers
You’ll likely need to cut another small hole in your ceiling around where you want the cable to come out.
It’s not so different from wiring any other kind of speaker, but again, if you’ve never done anything like this before and aren’t a handy person, you will want a professional to help.
6. Make any last adjustments
Once they’re in, you can tweak the adjustments. Aimable tweeters should be directed toward your seating before you add on those speaker grills.
It’s also important to check the tone controls on your speaker. When speakers are 12 inches or less from a corner, put you bass controls on ‘minus’ while treble should be on ‘minus’ if your room lacks upholstered furniture to absorb sound.
One more thing…what I’ve just mentioned above is assuming your ceiling is drywall. If it’s not, you will definitely want a contractor to do this no matter how good you are at fixing things.
They can tackle that sort of thing fast. Additionally, an electrician or sound engineer should be called in to do the wiring if you can’t.
It’s worth the cost to get it done right the first time and without injuring yourself.

In-ceiling speaker installation guide for plaster and lath walls
Now, what might you do if your home is equipped with plaster-and-lath ceilings or walls? Well, this will be much more complicated.
Plaster is easy to crack, and it crumbles, so you will need to be ready to touch it up.
Another bone of contention here is that running in-wall wire through this kind of wall is very difficult.
You may find it best to run your wire out of the wall and simply hide it with carpeting, cabinets, and other tricks.

In-ceiling speaker installation guide for drop ceiling
If you have a drop ceiling, it’s not strong enough to support the weight of speakers in the ceiling.
You’d need to reinforce where you mount the speaker with a large piece of plywood atop the foam panel.
It should cross the braces, and then the speaker opening should be cut into both the wood and drop ceiling.
If you have pressboard drop ceilings, you can just cut directly into them since they’re sturdy.
3 Best In-Ceiling Speakers for Surround Sound
Now, let me walk you through the best of the best…
- Class-D Digital Amplifier
- 125W/Ch at 8 ohms
- Touch Controls
- Ethernet, Airplay 2, 2.4 GHz
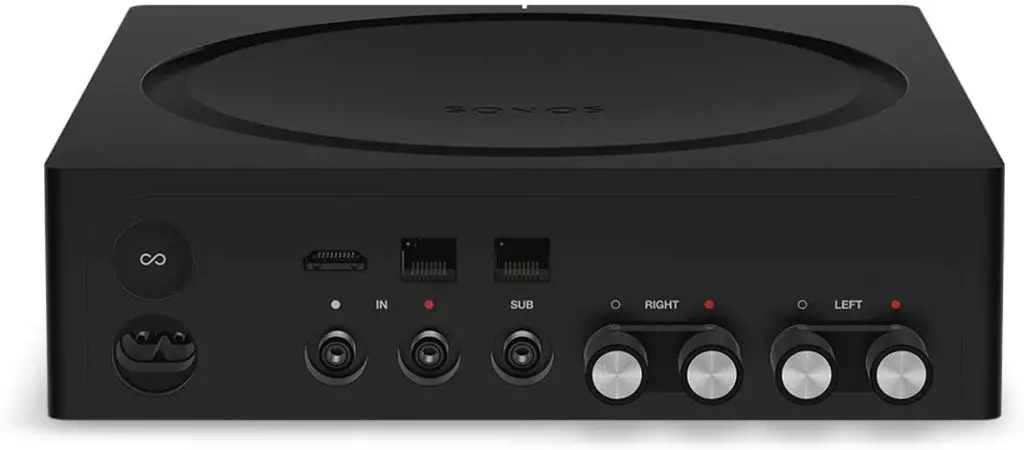
– The Sonos Amp
The Sonos Amp is ideal for pairing with speakers for an awesome setup. You can go to wireless pairing with the Sonos Beam or Playbar Soundbars.
That makes it easier to set your in-ceiling speakers as rear surrounds, so you have true 5.0 Dolby Surround.
And, the Sonos Amp (Amazon link) doesn’t need to be hard-wired to your soundbar so you can put it anywhere.
This is great if you want to increase your setup by adding a subwoofer either wirelessly or out the back of the amp manually.
But if you don’t have the Sonos Soundbar mounted above or below your TV, don’t feel sad.
This amp can be connected via HDMI-ARC output on the back of your TV. That’s a 2.0 Dolby Digital Surround for your speakers.
- Possibility to connect to other Sonos speakers
- Amazon Alexa built-in
- 25.6 inches/65 cm
- 5 drivers
This device is clever enough to run a central channel that copies the sound channel set-up like a Sonos Beam.
In other words, you still get a wonderful sound experience even when you choose this amp rather than a soundbar.
Wired to the amp, you can get all your in-ceiling speakers to be part of your Sonos zone and control wireless speakers through Wi-Fi.
Yes, it pairs with voice assistants like Amazon Alexa and Google Home.
– Sonos In-Ceiling Speakers
With these, you get the best tweeter and driver plus internal components to use with your Sonos Amp.
This means you will get perfection in surround audio and pivotable tweeting action to direct your sound where you want it.
These are such great speakers, namely for the Trueplay function that lets you connect an iOS device to send test tones, allowing you to adjust speaker output to optimize your room’s dimensions.
It creates a customized listening experience that effortlessly helps you maximize sound output.
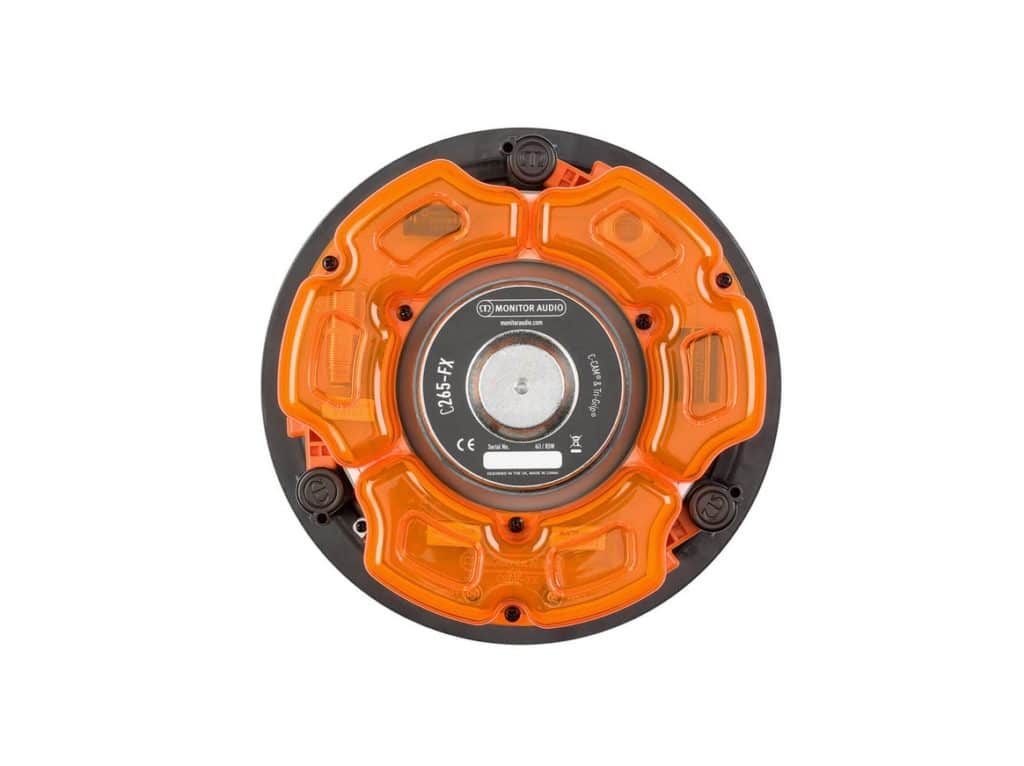
– Monitor Audio C265-FX
Ah, now for monitor. You’re getting a setup much like the Sonos speakers; however, the difference is the tweeters are in specific placement to optimize the angle.
The face away from each other for wide dispersion on your surround channels.
With Bipole/Dipole on switch, you can customize your listening situation to any room and speaker position.
Bipole allows the drivers to deliver a diffused sound that works best for when they’re alongside those listening in.
Dipole directs it toward the TV, which is ideal if it’s behind you. So, no matter where you put these, you’re assured of phenomenal surround sound.
– KEF CI160QR
For luxury, KEF QR range is a deeper bass experience that has a higher treble than its CR range.
This is a fantastic choice if you want to use your in-ceiling speakers as surround rears.
With a built-in Uni-Q driver, you get a massive draw for those rears. The driver is in the center of the bass cone to disperse sound outwards, so the sound you get is crisp.
You don’t need to pivot the driver toward the sofa either. These are great when you don’t want to switch back and forth between surround sound or music.
You also have the option for the Ci200QR, which has an 8-inch driver to give you more bass from your speakers.

In-ceiling speakers FAQ
I’m always receiving questions about in-ceiling speakers, hence why I decided to create this post.
Here are the most common questions about them, and my answers.
How do ceiling speakers connect to surround sound?
With a Sonos Amp, you plug it into main power and wire the ceiling speakers into the amp using a speaker cable.
From there, downloading the Sonos app makes an intuitive experience that takes you step by step through the setup to calibrate them as rear surround channels.

Can I connect ceiling speakers to TV?
While you can play the audio from your TV via ceiling speakers, you can’t connect them directly. There are no dedicated speaker outputs on TVs.

Can you use voice control with in-ceiling speakers?
Yes, if you buy the right ones. Many can be controlled through devices like Alexa, Echo, or Google Home.
Plug it in for the room you want and set it so you can control the amp.

Can In-Ceiling Speakers Be Placed Outdoors?
Yes, outdoor in-ceiling speakers can be used BUT… they need to be models that are built to withstand the weather.
None of them can survive intense rain or snow exposure, but if you set them in soffits or other protected places, you can get excellent results and something more minimalist than wall-mounted cabinet speakers or the ones that look like rocks.

Can you paint ceiling speakers?
Those protective grilles on the exterior of your ceiling speakers can be spray-painted to any color you want.
This should be done by first removing the grilles and then spraying them. Make sure they dry fully before putting them back on.
Conclusion
I highly recommend that you invest in those in-ceiling speakers when setting up proper surround sound. That backbox will help protect them and get the best sound out of them too.
Even for those of you that are pretty handy, this might be a tough one to do alone, so please don’t be shy about getting a professional in there.
You’ll be thrilled with the results when you use the right speakers and have them set in the proper placement whether you want to listen to your favorite albums, keep guests entertained, or watch a movie and hoard the popcorn all to yourself.


