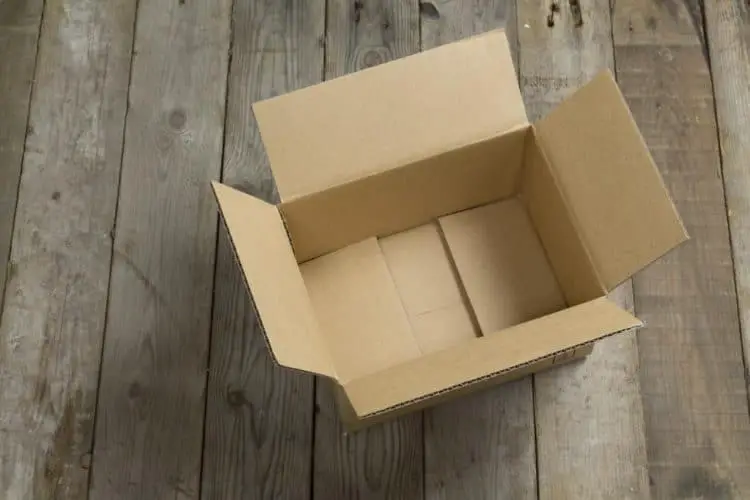
With so much going on in the world today, you might need something to keep you busy. I know I do, and if you’ve got a carboard box at home, you can get the kids involved to soundproof it. Ideal for science projects or for musicians alike, it’s a great way to upcycle something that would otherwise be doomed for the dumpster.
If you want to know how to soundproof a cardboard box at home, the easiest method is with 3M Styrofoam Spray Adhesive. Protecting the space when using it is ideal to catch the excess from the spray. Then attaching the panels inside the box with the spray adhesive is a simple procedure.
My guide here will give you a step-by-step way to create a soundproof cardboard box at home with sound-deadening materials. If it’s simple enough for middle school children, you can handle it too. I’ll get to all the details on how to do it, what you can use it for, and all of that below, so keep reading.
What Is a Soundproof Cardboard Box Used For?
If you’ve been sitting around lately searching for ways to stop looking at the endless drivel on social media and the doomsday predictions in the news, you might just want to build a soundproof cardboard box.
Aside from that busying reason, there are a few actual uses you will find a soundproof cardboard box ideal for:
- Start that science project for your older child sooner rather than later
- If you record music, you’ll love it
- Guitar amps can fit nicely inside with a microphone and isolate sound effectively
- Noisy water pumps or generators won’t trouble you anymore
- You can boost the sound of a mic or speakers
- Don’t wake the baby in the morning with blender, juicer, or food processor noises
Tools and Materials You’ll Need to Soundproof a Cardboard Box
Ready to get started? Sure, you are! Whatever your reasons for soundproofing a cardboard box, these steps will take you from start to finish fast.
Once you make one, you’ll want to make more of them for just about everything. Ok, maybe not, but they are useful in many ways, and you will never have your school-aged child chime in at 9 pm to tell you the science fair is tomorrow and be caught off guard.
What do you need? First, gather all the essentials:
- Cardboard box in the size you want
- Styrofoam sheets (you can cut them to the desired size which I’ll get to shortly)
- Scissors (for that cutting of course)
- Sound deadening material
- Spray adhesive or glue (the spray is better as it’s easier to apply and more effective)
- Measuring tool (ruler or tape measure)
If you’re handy like me, you will likely have these things around your garage, or at least most of them. The rest are easy to get, but before you begin, don’t just wing it. Make sure you’ve got it all assembled in your desired workspace before you get down to it.
Step-By-Step Guide to Soundproof a Cardboard Box
Technically, the first step to building your own soundproof cardboard box is making sure you have everything you need for the job. But even before that begins, you need to take some measurements.
■ Step #1: Measure What You Need That Soundproof Cardboard Box For
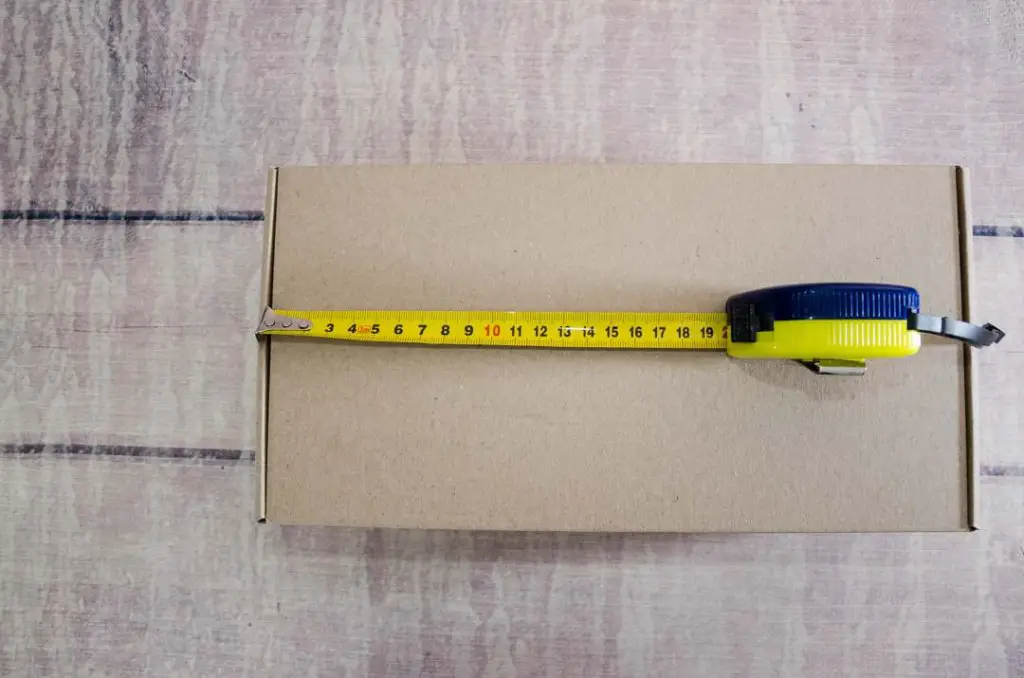
Where are you putting your soundproof cardboard box creation? What are you using it for? You need to get a box that is big enough for this, but also, more importantly, you first must determine if that finished box will fit into the space, you’ll be using it for.
Before you even begin all this though, read ALL the steps below and have a basic understanding of them, so you don’t run into an “uh oh” situation.
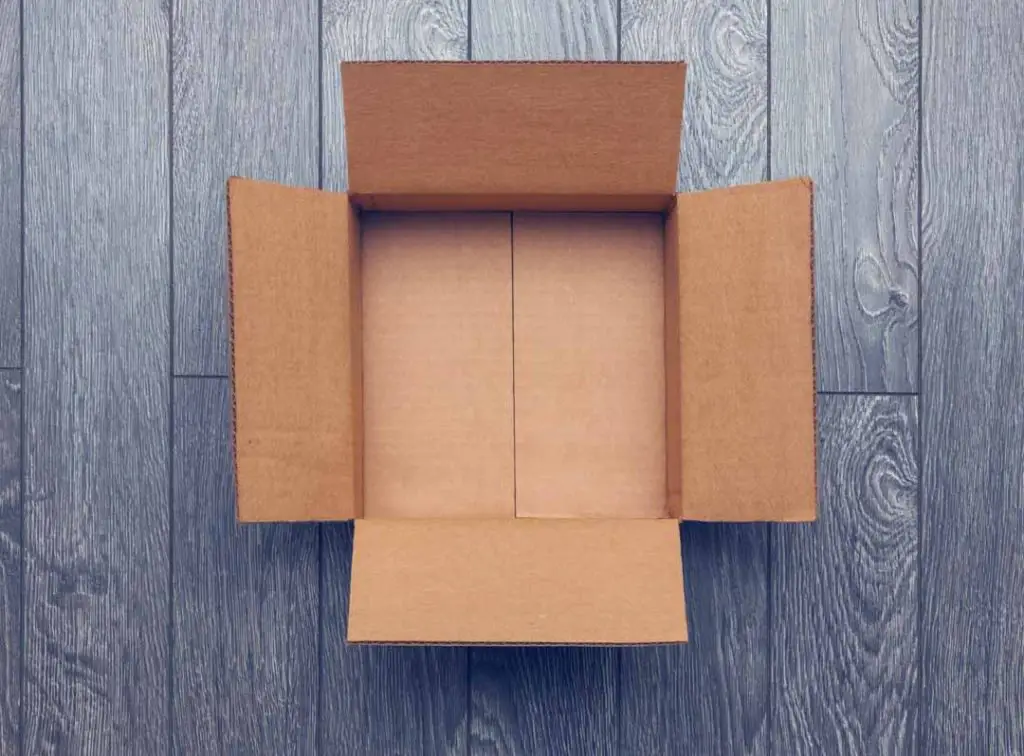
■ Step #2: Get Your Cardboard Box
Do you order a ton of packages online these days? Perhaps the wife or girlfriend does too. In that case, you may already have a box big enough for the job.
In most cases, a box that’s about 24” wide by 18” deep by 24” high is a nice choice, but again, see my first step. The box you choose must:
- Fit in where you’re going to use it and
- Fit whatever you’re going to put within it. You don’t want to do all this work and find your amp won’t fit in there.
No boxes in your garage? No problem! You can look around behind most stores to find one. Need a big one? Stalk the dumpster at the furniture or appliance store.
They usually have big ones. You can even buy boxes if you can’t find anything that matches your specs.
They’re not all that expensive, plus you can even have it shipped in some cases.
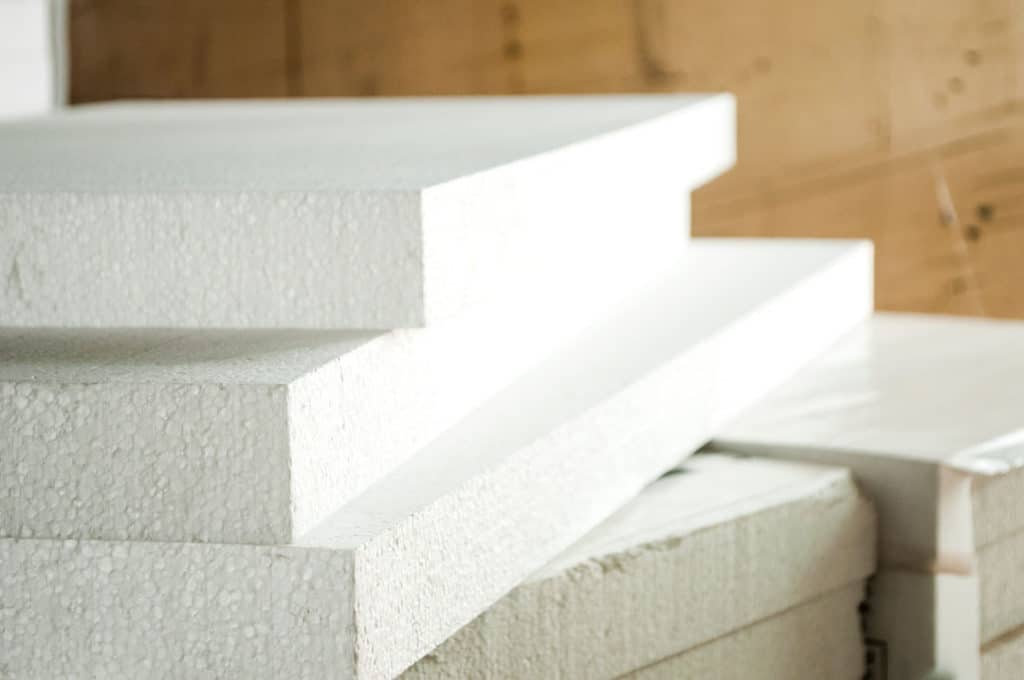
■ Step #3: Start Insulating Your Cardboard Box
Now that we’ve measured our intended space and measured what will be going into our completed cardboard box, we need to insulate it.
This begins with Styrofoam sheets, which are easy to find in convenient sizes. Ideally, you’ll want a white foam board in size 40” x 60” and about 2 or 3 of these sheets to get this job done.
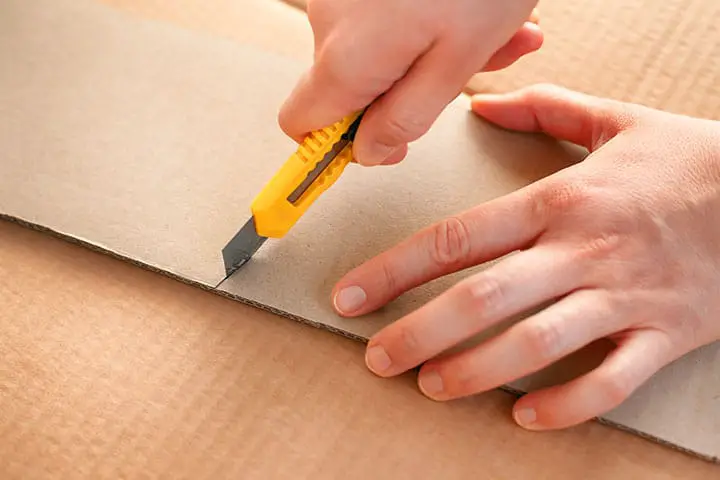
It’s easy to cut using a razor knife. Use a straight edge to help you hold a steady line. And of course, before you begin cutting, measure it twice. Often, I measure 3 times just to be sure.
That’s what happens when projects in your younger years lead you to get cocky and cut the wrong way, wasting time and materials.
The top short flaps of your box should be cut off, and you should be making 2 Styrofoam sheets to cover those inside longer flaps too.
■ Step #4: Use the Adhesive
When you are certain your Styrofoam pieces are measured properly and cut properly, you will want to cover the entire inside of your box with them.
One of the best and easiest adhesives that work like magic with Styrofoam is 3M Styrofoam Spray Adhesive.
Before you go buck wild and spray it everywhere, make sure you put something down to protect the area.
That spray will go everywhere, and unless you want to ruin the finish on your patio or driveway, you should lay out old newspapers or even a plastic tarp to catch the excess.
Spray the adhesive, stick the panels on, and let them set. You can go take a break now as that dries.
■ Step #5: Improve the Insulation
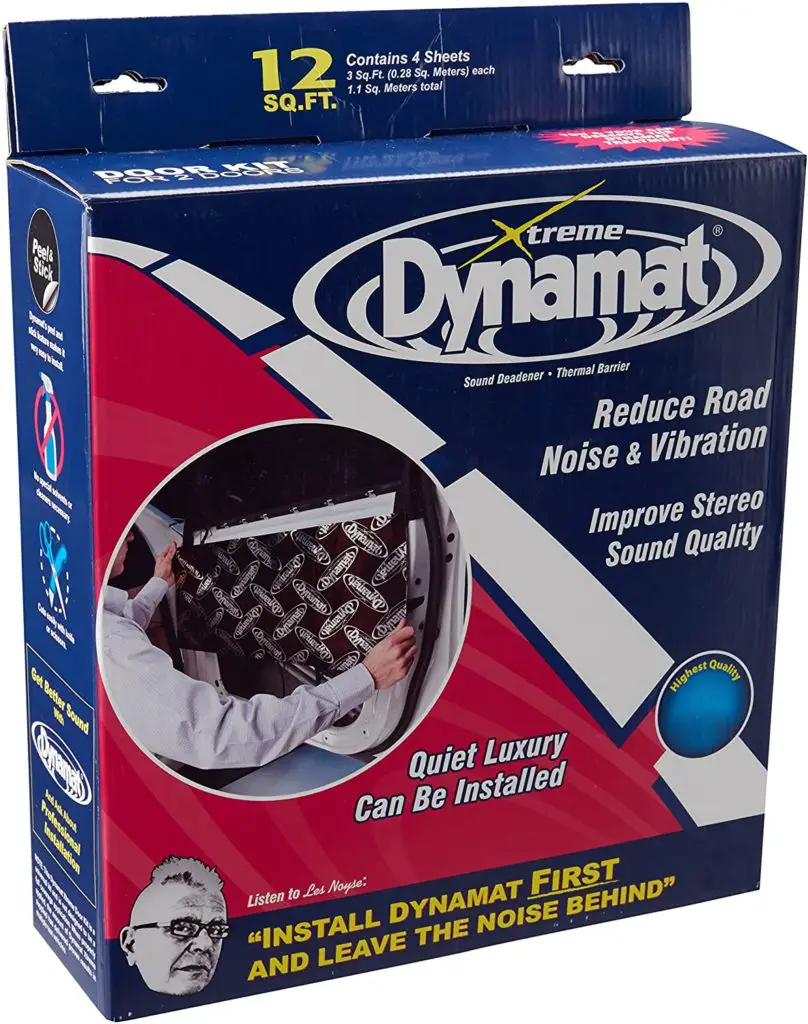
Now that it’s dried, you’ll move onto the heart and soul of this project, a spiffy product called Dynamat.
It’s used in soundproofing cars and is excellent for keeping the sound in your newly-refurbished cardboard box. Two rolls of this stuff at 32” x 54” x 1/4” thick self-adhesive will work for most jobs.
You’ll cut these sheets to fit the entire inside surface of your box. Pro tip: You can line them up with your Styrofoam pieces before you use the adhesive to put those in. Then you’ll know your sheets will fit perfectly.
They have an adhesive protector on the back, so peel it off starting at one end and positioning it inside the box, peeling the sheet along slowly as you go while firmly pressing it onto the Styrofoam for a smooth finish. You’ll be covering all four sides of the box, the bottom of the box, and those two longer top flaps.
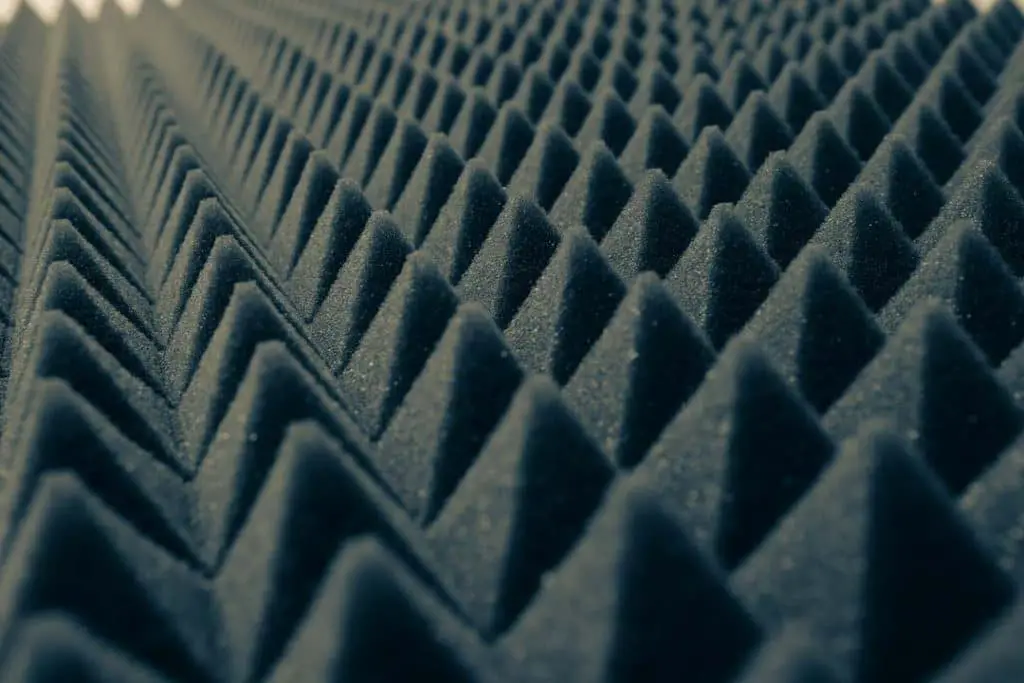
■ Step #6: Use Acoustic Panels on Your Cardboard Box
Now that everything is in place, it’s time for the final round. You’ll need acoustic foam paneling. 48” x 24” x 3” measurements should give you enough coverage that will allow for the quiet you seek.
Cut those panels in the same way as before, except you will not need one for the bottom. Then you will use an adhesive to lock it to the Dynamat.
Auralex FoamTak is one I recommend since it will last and really stay put. Again, you should be in your covered space with the newspapers and the whole protection getup from before to avoid a mess.
You’ll spray the back of the egg crate panels and carefully attach them to the box everywhere except for the bottom.
The bottom should only have Styrofoam. And with that, this soundproofing task will be done, save for a little more drying time!
FAQs about Soundproofing a Cardboard Box
Still, have questions about what to do or use? I get it. Here’s a rundown of substitutions and whatnot to help you complete your soundproofing project.
■ Can I Use Homemade Sound Deadening Materials?
You bet! Add anything you want. The idea is to make a thicker barrier between the walls of that cardboard box and its exterior.
However, the stuff I’ve listed above is something I’ve tested and know works exceedingly well.
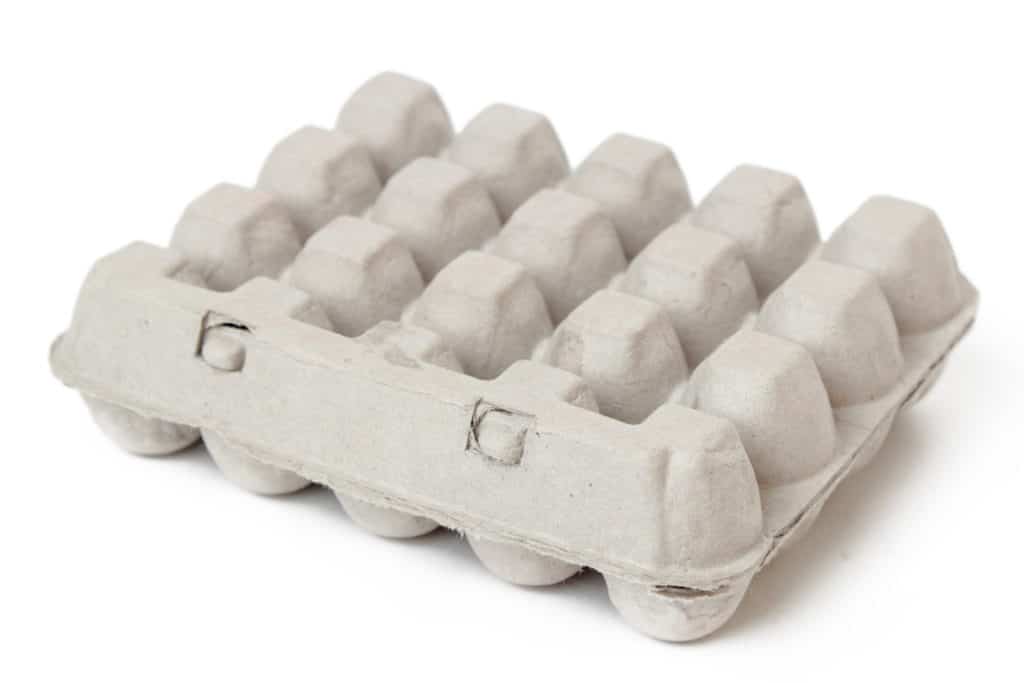
■ Can I Use Egg Cartons to Soundproof My Cardboard Box?
Look, egg cartons are great for keeping eggs from breaking. But as far as blocking noise, they’re a total dud.
Cardboard boxes already have thin walls, so adding a thin material on there isn’t going to really help.
If you’re walking your kid through trying to do this and egg cartons come up, ask them why they think it might work and then show them why it won’t. It’s a great way to learn a life lesson.
■ Can I Soundproof a Cardboard Box from the Outside?
Yes, which might be easier if you’re making a smaller soundproof cardboard box. You’ll just add all the materials discussed above to the outside.
It will probably look a bit ugly though, so if you want to pretty it up, by all means, add some decorative paper to give it some style.
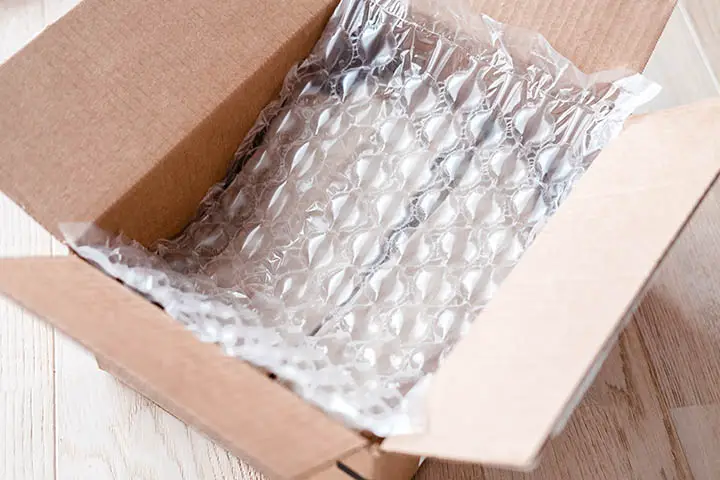
■ Can Bubble Wrap Be Used for Soundproofing a Cardboard Box?
Another smart question that might come from kids is about bubble wrap. While that stuff is fun to pop, it lacks the mass needed to be effective.
The air pockets really won’t lend enough sound reduction to make a difference, plus they will keep popping over time when pressed, and you’d have to keep replacing them.

■ Can I Use My Cardboard Box to Transport Food?
Well, sure, you can do that, but I recommend fully following the materials I’ve listed previously. In a pinch, this can insulate your food during a road trip or nasty storm that knocks out your power, so feel free to MacGyver it into food transport as needed.
■ Should You Build Your Own Box for Better Results?
You can certainly build your own box if you’re going to use it for a long time. There are videos that can teach you how to build your very own wooden box. It will give you better results than the cardboard box simply because wood is thicker.
However, if you’re not up for woodworking or just experimenting, a soundproofing a cardboard box will give you some pretty effective results.
Conclusion
It’s not very difficult to soundproof a cardboard box. Even if you haven’t mastered all that many projects, all it takes is having the right materials, measuring, and following the steps.
Once it’s ready, you can find it to be really helpful in many ways. If you’re a budding musician or have a kid that likes to record their jams, this can be a simple, affordable, and effective way to keep pure sound where it belongs.

