
Headphone microphone issues are common, and it doesn’t matter what brand you have, it can happen to the best of them.
If you’re experiencing issues for the first time, it’s possible that the solution is far simpler than you think. No need to send your headphones to the recycling bin just yet.
The truth is that your microphone is an added layer of functionality, as well as an extra layer of complications.
Adding a microphone isn’t just the extra speaker; it’s also completely different wiring, a new jack, and the better the brand, the more complicated the tech.
Luckily, the simplest and most common reason for any issues will be dirt and lint, over the long run, this can cause serious issues, but if you follow good headphone hygiene practices, they should keep working for a long time to come.
Let’s look at the causes of microphone issues as well as the solutions.

Why your headset microphone isn’t working:
A dirty jack socket is a common cause of the mic not working. Lint, dirt, and dust can break the connection, preventing the electric signals from being transmitted. A simple solution is to clean out your jack port with compressed air and a cotton tip with isopropyl alcohol. Never use a metal object.
If that doesn’t solve it, the problem might be:
1. Make sure your microphone isn’t muted
This is one of those facepalm moments, but it happens. Make sure your device and microphone are unmuted before going any further.
2. Software-related microphone issues:
Sometimes all that’s needed is a software update. Head to the manufacturer’s website, download the latest driver update and install them while your headphones are connected.
Alternatively, it could be that your operating system is blocking your microphone for privacy reasons. Check your privacy settings to resolve the issue.
3. Cable issues could prevent your mic from functioning properly
The number one cause of malfunctioning headphones could very well be the cable. It’s a weak link, and the constant bending and swinging will eventually wear it down.
If you have a detachable cable, try a different one to make sure your cable is still working.
4. Headphone jack issues
Any scratches or dirt on your headphone jack can break the connection, causing issues in your audio.
Again, use a different cable to see if the problem persists.
5. You may have used the wrong headphone jack
If you’re using an adapter or a different brand’s cable, the wrong headphone jack could be at fault. Try getting an original cable to test if the problem resolves itself.
6. Dust and dirt on your microphone’s mesh screen
The sound actually needs to enter the microphone for it to get transferred. If you’ve ever looked into the little mesh-covered hole in your mic, you’ll know that every time you throw it in your bag, it picks up all sorts of dirt and grime.
Give your headphones a good clean every now and then to keep the speakers open and ready to output audio.
7. Dirt inside of the headphone jack
This makes things a little bit more complicated, but a fix is still possible. It often happens that dirt, lint, and dust get into the headphone jack port, and to clean, it takes a bit more care.
Tip: Never use a metal object to tick it out – you’ll scratch the connective metals and damage it permanently.
8. The headset might be faulty
Finally, It could be that your headphone mic is faulty, and if it’s still under warranty, now would be a good time to send it in for repairs or to get a replacement.
If you think one, or a few of these, might be causing you some issues, let’s take a look at the solutions in detail.

18 ways to fix the microphone on your headphones
Seeing as anything could be causing you issues, let’s start with the easiest solution and work our way up to the most complex.
This way, you’re sure to find the problem and give your headphones a much-needed service along the way.

Fix 1: Make sure your microphone isn’t muted
You’d be amazed how often this little test solves the problem. To solve the issue, try the following solutions:
- Many headsets have a mute button, just make sure it isn’t active. Gamers use this to mute their audio in order to not disturb their fellow players unless they want to say something critical.
- To turn off mute on your computer, first, make sure that your headset is connected properly to your computer.
- Make sure that your microphone on your headset is selected as the system default recording device. If you’re using Windows 10, follow these steps:
- Click on the Start button , and select Settings > System > Sound.
- Under the heading ”Input”, make sure that your microphone is selected under ”Choose your input device”.
- Finally, check that your microphone is working by selecting the ”Test your microphone” option and speaking into it to make sure the sound is being received.
Fix 2: Increase your microphone’s volume
This has happened to all of us, you’re talking, but no one can hear a word. If your mic volume is too low, follow these steps to “speak up,” so to say.
- Always important, check that your headset is connected to your computer by just giving the jack a light push into the socket.
- Next, check that your microphone is positioned correctly. It should be open, and the mic should be turned out so it can receive audio.
- Increase your microphone’s volume in Windows 10 by following these 6 steps:
- Press Start and select Settings > System > Sound. You can also access this by right-clicking on the speaker icon in the right bottom corner.
- Under the Input tab, check that your microphone is still selected as your Chosen input device.
- Select Device Properties to access the popup.
- At the Levels tab of the Microphone Properties window, play around with the Microphone and Microphone Boost sliders as needed. Select OK when you’re happy with the volume.
- Test your microphone by speaking into it while having the “test your microphone” box checked.
- Make sure your settings work before closing.
Fix 3: Allow access to your headset microphone
To give your microphone access to your audio, you need to get into your Windows 10 system settings first.
Sometimes your need to manually give the application access to your headset microphone before you can then use it.
To change your microphone settings, follow these easy steps:
- Press the Start button, and then choose the gear icon to access your Settings.

- Click on Privacy in the pop-up.

- Scroll down on the left panel until you see Microphone. Open it.

- Click on Change, and check that the ”Microphone for this device” is turned on.

- Also, check that the function ”Allow apps to access your microphone” is turned on. It’s right beneath the Change button.

Remember that the steps could differ slightly based on the Windows version you’re using.
If you’re using Mac, we’ll look at a few of the settings later on in this article.
Fix 4: Windows might have had a recent update
Another issue you might be experiencing if you’re a Windows user, is a bad update.
While updates are generally good, we’ve all had a few irritating Windows updates, and the issue with your microphone is that the settings might have changed and now need to be given permission again.
If your microphone isn’t picking up after a recent Windows 10 update, follow these steps to give your apps permission to access the microphone again:
- Go to your Start menu
- Open your Settings (the gear icon) > choose Privacy > select Microphone. Press on the Change button, and turn on ”Allow apps to access your microphone”.
- In addition to giving your operating system access to the microphone on your headset, you can also choose which individual apps have permission to access your microphone under ”Choose which apps can access your microphone”.
Make sure everything you use on a daily basis is activated. Note that when you restrict access for certain apps, it will affect the functionality.
Fix 5: Make sure the microphone is enabled
If your headset microphone has been disabled for some reason or it isn’t set as the default device on your computer, it could cause issues.
To make sure everything is enabled, check the following settings:
- Open the Run Dialog by simultaneously holding down the Windows logo key and pressing R on your keyboard. Next, type “control” and OK.

- Once you’ve opened the Control Panel, change the view to Large icons.

- Press and open the Sound settings.

- Open the Recording tab, and right-click on any open space under the list of recording devices. This will give you two options to activate:
- Show Disabled Devices, and
- Show Disconnected Devices. Make sure number one is enabled.
- Next, right-click on your Headset Microphone’s name (it will usually have the word microphone in it) and make sure it is “enabled”. If it is enabled, it will look like this:
If it isn’t enabled, it will give you the option to enable it:
- Once you’ve activated it, make sure your primary headset is Set as the Default Device.
- Finally, check that the full volume is enabled by right-clicking on your Headset Microphone and opening the Properties.
- Open the levels tab and set the slider to 100% volume. Simply drag the slider all the way to the right.
- Click OK and Apply to make the change permanent.
By enabling your headset microphone and setting it as the default device, you’ve made sure that if any sound is coming through, your computer will pick it up.
You can also look at the volume bar to see if any green lines come up as you speak.
If, however, enabling the microphone and turning up the volume, doesn’t solve the issue, we need to look at a few more solutions.

Fix 6: Update your audio drivers
Using incorrect or outdated audio or headset drivers for your microphone is sure to cause issues – in fact, it probably won’t work at all.
It’s hard to know if your drivers are outdated, so the easiest test is just to install the latest drivers from the manufacturer:
- Go to the manufacturer’s website
- Search for your headset’s most recent driver update
- Once you’ve located the driver, download it you your PC
- Make sure your headphones are plugged in when you run the exe. file
- Once the update is done, check if there is any change to your headset microphone issues
This could be an easy solution, but if it hasn’t solved it, rest assured that your microphone (once we get it to work) will be delivering great audio to the other side.
Let’s move on to the next fix.

Fix 7: Try a different jack
This is more of a test to see if the issue might be somewhere else than your actual microphone. The jack is essential to getting the audio captured by the microphone to your PC.
If the jack is scratched, dirty, or broken, that signal isn’t going anywhere.
If your cable is detachable, try a different cable to see if that resolves the issue. If your jack isn’t detachable, let’s first go through all the other steps before we do something drastic like replacing the jack.
If your headphones are still under warranty, I’d probably suggest that you send them in first before you attempt surgery on it.
Other than a damaged jack, there are a few other jack related issues we can try to resolve first.
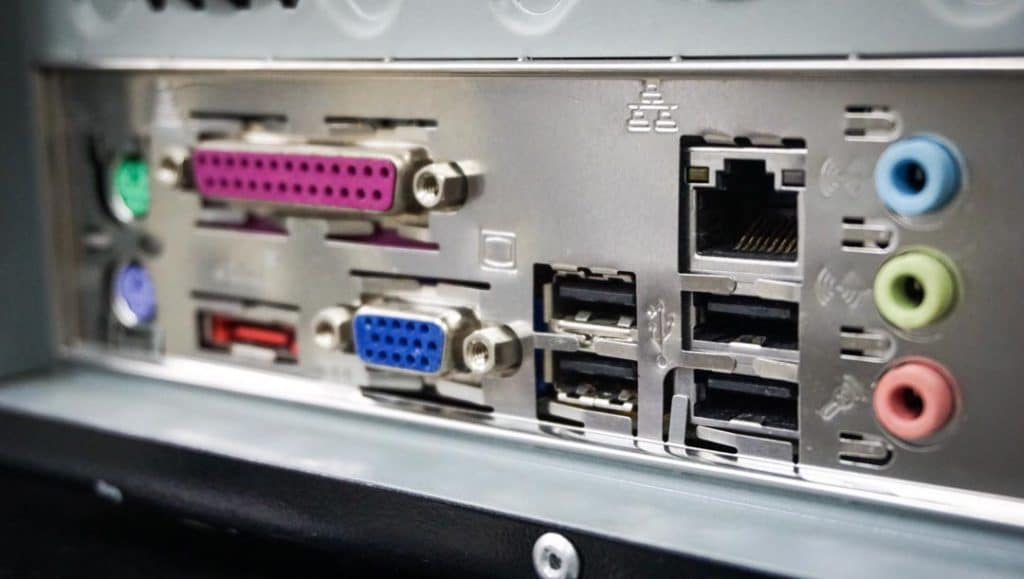
Fix 8: Make sure your headset’s jack matches the socket
Jacks are pretty complicated, but understanding how your jack works could help you solve your problem.
First things first, your jacks connectivity, and if it can support a microphone, depends on the number of conductors. The conductors are the bits between the black striped insulation bands.
A mic enabled jack will have 4 conductors (thus 3 stripes), whereas a jack with only three conductors, won’t be able to support mic.
Luckily, any headphones with a microphone will actually have the right jack, so what’s the issue?
If your jack doesn’t match the socket in your PC, the microphone won’t connect and send back electrical signals. That means your headset mic could be working perfectly, but the socket is the issue. Check that all the conductor rings go all the way into the socket. If not, try a different socket.
Luckily, most phones these days have stereo sockets that support mic connectivity.

Fix 9: Fix the jack on your headset
Day to day use will cause your headphone jack (or male jack) to wear down. At the end of the day, if the conductive metals are worn down enough, they won’t be able to send electrical signals.
If the damage is quite extensive, it should be evident in all areas of your headphones, e.g. audio playback, and the mic.
If, however, it’s one scratch on one of the conductors, it could affect your microphone only.
Again, actually replacing your headphone jack is doable, but it’s recommended that you rather send it in for repairs, especially if we’re talking about a premium headset.
Check out this post I wrote on how to fix a broken headphone jack.

Fix 10: Check the female jack
The socket (or female jack) has the same conductive material lining in order to be able to receive the audio signals and transfer them back to your PC.
If, however, a bit of dirt, lint, or dust gets in there, it can scratch the surface, disrupting the signal or block the signals due to the dirt.
Alternatively, the “locking system” could be blocked, causing the male jack to pop out.
This basic spring and ball mechanism locks the male jack when inserted, making sure the connection is strong and that the audio signals are transferred to your PC.
If you can clearly feel that the jack isn’t inserting properly into the jack socket, you might need to send your media device in for repairs.
While it is technically possible on many devices to replace the socket yourself, it isn’t advised if you don’t have prior experience and the right tools.
Tampering with the device could also break your warranty agreement.

Fix 11: Clean your headphone jack
The male jack of your headphones can also get dirty. Most of us just pop it in our bags when we’re not using them (if that’s you, you might want to consider getting a headphone stand).
It’s not only that this can damage your headphone cable, but it also exposes your jack to all the dirt, food, and grime that’s in your bag.
If this gets stuck on your jack, even a thin layer of oil, it can affect its conductivity.
No matter how many times you turn it left and right in the socket, it isn’t going to make it better.
In fact, it’s making it worse by spreading it all over the inside of your socket. You need to now give both the jack and the socket a good clean.
To do this, get a piece of cotton and a dry lint-free cloth. Soak the cotton in a bit of isopropyl alcohol and press out the excess.
Wipe down the jack and then dry it off. Leave it to dry completely before using it again.
Next, move on to the socket. I disagree with using any sharp objects to try and remove dirt.
You can either use compressed air first to blow out the worst of it, and then use a q-tip with some isopropyl alcohol to clean the inside. If it got too deep, you’re better off sending it in for a service.
Also note that if you have an iPhone, the socket may have a moisture sensor, and using any liquid to clean it (like alcohol) could void your warranty. When in doubt, send it in for a service.
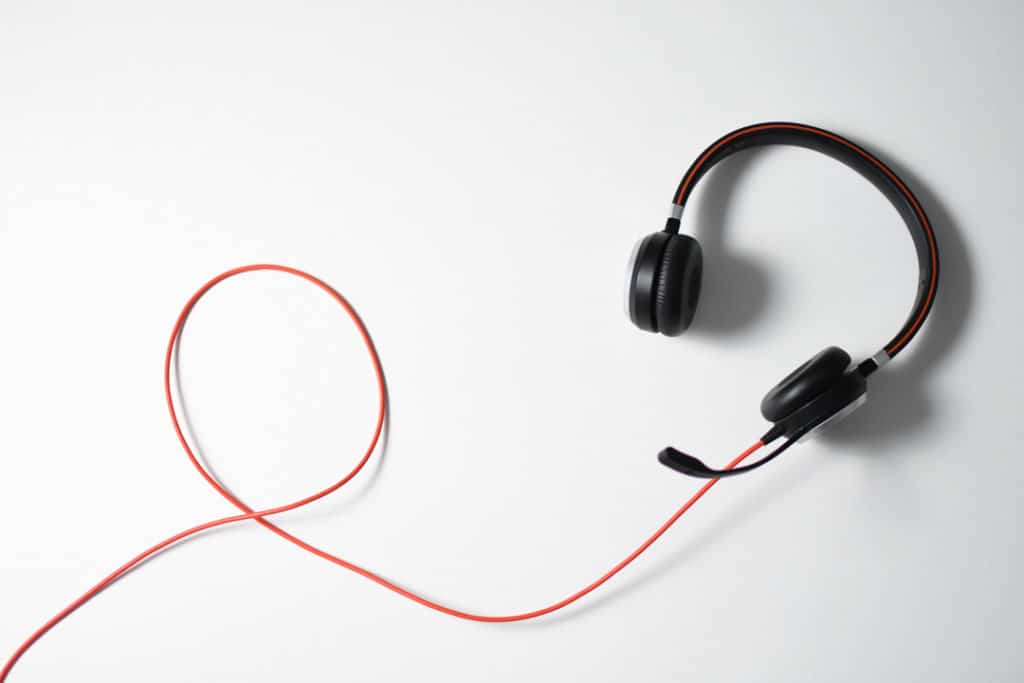
Fix 12: Fix your headset’s cable
If you notice that your cable looks discolored or frayed at the edges, this could very well be the source of all your frustrations.
The simplest solution to cable issues is to replace it. Make sure you get an original cable because the cable plays an important enough role in your overall sound quality.
The first line of defense is always avoiding damage completely. Never bend your cable, and when you roll it up, follow the natural curve.
You can also use a protective case to keep it safe. Faulty cables have been the premature end of too many great headset microphones.
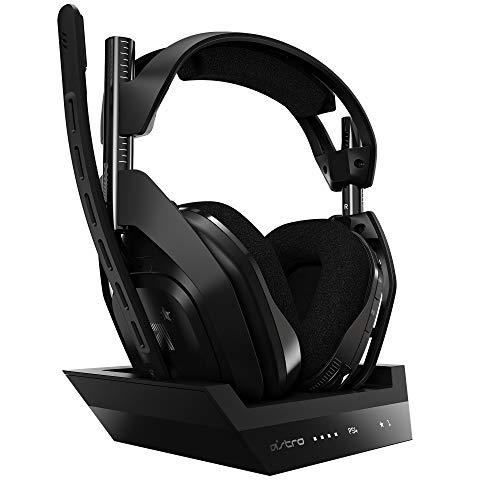
- Wireless Gaming Headset
- Dolby Audio
- Base Station
- Flip to Mute Microphone
- Compatible With PlayStation 5, PlayStation 4 & PC
Alternatively, opt for a wireless headset to make your life easy. I love the Astro A50 Gen 4 (Amazon link) exactly for this reason.
Great audio and no wires to worry about. It even comes with a charging station that solves the headphone stand issue.
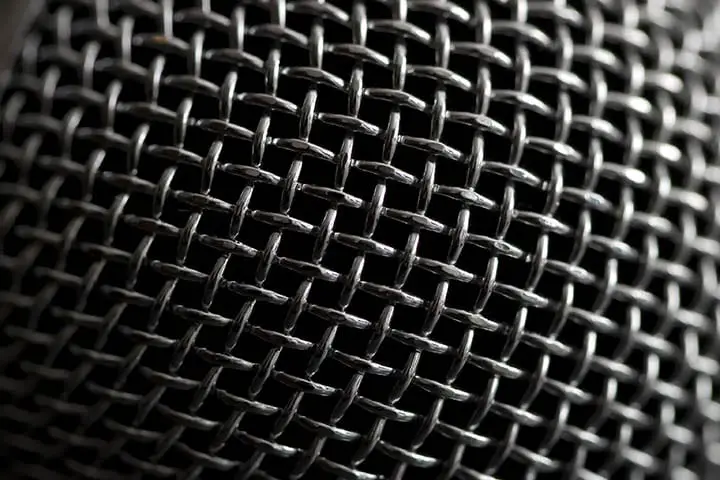
Fix 13: Clean your microphone’s mesh screen
If you’ve ever peered into your earpods, you know that they get clogged with earwax and dust.
The same happens to your microphone mesh; it’s just mostly lint and dust that clogs it (just think about your belly button – I know you get a lint ball as a present daily). Cleaning all the gunk out might solve the issue.
To clean your headset’s microphone mesh screen is pretty simple. The screen isn’t too delicate, so you can gently get in there with an old toothbrush (or similar) and brush out any lint or dirt.
Here you could technically use something sharp to get into the corners, like a toothpick, a paper clip, or a needle, to get some harder bits loose.
You could also wrap these in a bit of toilet paper to get out any dirt, if you don’t have a toothbrush you can use.

Fix 14: How do I fix my Apple earphones mic?
Finally, the bit all our Apple fans have been waiting for. How to solve any issues you might be having with the microphone of your Airpods, Airpods Pro, or your Apple device.
Perhaps you can’t get Siri to hear your commands (not so cool, so start screaming at Siri in the mall), or you just can’t make a call.
Of course, the first issue arises when we look at the “Apple Jack” (aka the lightning 8-pin connector). Confusing – I know… Why Apple?
Turns out, even while its differences can be irritating, it does offer quite a few benefits. Speed and ease of use being the top two.
Anyone who’s spent a few seconds figuring out which side of a USB connector goes where, gets it.
Then the speed is much faster than USB or even USB-C. Ok, so Apple was onto something, but one of the issues is exactly how unique it is – because it makes fixing it all the more complicated.
Cleaning your lightning connector isn’t an issue; you can follow the same easy steps as the normal jack (cotton with isopropyl alcohol and a dry cloth).
But the socket is notoriously thin, and Apple has a moisture sensor that could mean any attempt at using alcohol might scratch your warranty.
If you want to attempt cleaning it yourself, the best I can recommend is compressed air. If you don’t have one lying around, just get one – you use it for practically everything electronic that needs to be cleaned (envision cleaning your laptop keyboard with that compressed air – yup, feels good, right!).
If you haven’t done anything wrong and your Airpods are still under warranty, just have them looked at.
I’ve found that Apple generally has a very lenient policy when it comes to faulty devices.
If cleaning doesn’t solve the problem, you could try the following tips:
● Siri Settings Issue
If the issue is that you can’t get Siri to respond via your Airpods mic, then the Access option on your iPhone might be an issue. To change it, follow these steps:
- Go to Settings.
- Go To Siri.
- Make sure “Access when Locked” is set to “On”.
● Automatic Selection Issue
Another solution is by changing the settings of your Airpods Mics in your iPhone settings from Automatic to Right and Left, then back to Automatic, you should be able to change the settings while your Airpods are connected to your iPhone:
- Open your Settings.
- Navigate to Bluetooth.
- Tap on the information icon (i) next to your AirPods name.
- Tap on the Microphone option.
- Select Always Left AirPod & Always Right AirPod.
- Make sure you tap back on Automatically Switch AirPods.
Test Siri to see if the issue is resolved.
● Removing And Adding Your AirPods
Perhaps your Airpods aren’t connecting automatically, try removing them and adding them again. As simple as this sounds, it often works.
- Open your Settings.
- Navigate to Bluetooth.
- ap on the information icon (i) next to your AirPods name.
- Choose to Forget This Device.
- Turn your AirPods off and on again and pair them with your iPhone when prompted to do so. You’ll need to enable the Bluetooth on your iPhone, and then press the Setup button on the AirPods case to get the connection.

Fix 15: Why your mic isn’t picking up your voice
If your mic isn’t picking up your voice and you’ve made sure that everything is clean, the issue could be in the software.
Drivers play a big role in the workings of your microphone. If you have outdated or missing drivers, your mic can stop picking up voice audio.
Make sure your audio drivers are up to date. You can either do it manually or automatically. Choose the most recent driver for your exact audio device.

Fix 16: What to do if your microphone or headset doesn’t work on Skype calls
You could possibly have blocked Skype’s access to your microphone, or you just haven’t given it access.
To update your settings is easy; let’s have a look at how you can make your microphone or headset is the Skype default recording device:
- Open Skype if it isn’t open already.
- Above your contacts list on the left side of the screen will be three little dots. Click on them and select Settings .
- Under the Audio & Video tab, you will see a Microphone and a soundbar. Next to this, there is a tab for “Default communication device”. Ensure that your preferred speaker or headset is selected here.

Fix 17: Fixing the microphone on your Android device
If you’re using an Android device to stream your media, there could be a few things to look at. Android is more open towards developers, and as such, the settings can be an issue.
If you’re checked that the jack and the headset you’re using are working perfectly, you need to go into the audio settings of your media player.
Open the general settings, scroll to sound, and check the volume level. You can also check the other settings available.
To Fix Your Microphone Problem on Android follow these steps:
- Restart your device
- Disable The Noise Reduction Setting
- Remove app permissions for any recently downloaded Third-party Apps
- Try to only use One Microphone headset once you’ve updated the settings

Fix 18: Have the defective headset replaced
If your headset is still under warranty, this solution trumps all. I mean, what could be better than having the professionals look at it and making sure you get top quality audio back to your ears. They key here is that it needs to be a product defect.
You might get lucky, but to be honest with you, physical damage (or worse water damage) isn’t going to get a replacement, probably just a nice bill.
All in all, warranties are there to protect you, and if you feel you have a foot to stand on, now would be the time to put it down.
As a final thought
There are a number of ways you can fix your headphone’s mic problems, and the best way to do it is to symptomatically go through the steps:
- Make sure your microphone isn’t muted
- Check the settings on your Audio Device
- Update your audio drivers
- Check for any damage to the jack, cable or microphone
- Clean everything thoroughly
- If you’re still under warranty, have the defective headset replaced
All in all, your microphone shouldn’t be giving you issues, and the solution lies in one of these steps.
I highly recommend just testing them all (that way you’re servicing your headphones too), and if that fails, send them to the professionals for a service. You’re likely to get a new pair if there wasn’t any foul play.