Have you thought about taking violin lessons? Are you considering it for your kids?
Before investing in expensive instrument lessons, it might be worthwhile to see if your hands are ready to work a violin’s fingerboard. You can do that by holding down the index, middle, and ring fingers on your left hand.
Now, try to bend your left pinky. Then try it again with your ring finger bending simultaneously.
If you can’t make your fingers work that way, you’re not alone. About 18% of the human population lacks that dexterity.
When you can complete that movement, you’ll want to consider ways to protect your fingertips from the pressure placed on them when playing.
What a Violinist’s Fingers Look like after Playing
Playing a stringed instrument is tough on one’s fingertips. Whether it’s the guitar or the violin, it takes repetitive practice to build up enough calluses to protect the hands while playing. When that protective layer isn’t available, it is not unusual for the skin near the fingernails to split.
One of the best examples of what happens to a violinist’s fingers after playing was shared on social media by Frank Almond.
After a particularly rousing rendition of Shostakovich’s Trio No. 2 in Milwaukee, WI, Almond shared the cuts that happened to his fingertips. The violin’s strings had split through the skin on three fingers, creating angry swelling and bruising.
After the performance, Almond also shared a picture of his instrument’s fingerboard, covered in dried blood.
The event happened on January 18, 2016. Here’s what Almond had to say about how everything went after on social media.
“Epic Shostakovich tonight. Yes, blood on the fingerboard. Worth it with these guys. Thanks to everyone for coming out in the cold.”
In a later interview, Almond noted that his fingerboard felt a bit “sticky” when he was playing. By the time he checked on things after the first movement, blood was already all over the fingerboard.
How to Condition Your Fingers for Playing the Violin
If you want to avoid a bloody mess after a passionate performance with the violin (or the fiddle, for that matter), two steps are necessary.
- You’ll need to spend time breaking in the strings on the instrument.
- Your fingers must get toughened up so that your fingertips don’t split.
It’s always exciting to begin working on a new piece, especially when fresh strings are on the violin.
Whether you’re switching to a new brand or sticking with what you’ve always linked, it can be painful to prep the instrument for your playing style.
Some violinists give up because they can’t move their fingers the right way or handle the pain from breaking in the strings.
Although most musicians have “secret tips” that let them manage this process effectively, the steps are relatively straightforward. Here are the ways you can work to avoid leaving your fingerboard a mess after a performance.
1. Stick with the Process.
No matter how much your fingers start hurting, it is essential to stick with your playing routine. It takes time for the body to form calluses, which is the natural reaction created with repeated friction exposure.
Although it is painful for the first few days, things start to feel better in about a week. You’ll be able to play the violin more comfortably.
Don’t believe the theory that filing the skin with sandpaper after each session speeds up callus formation. It does the opposite, removing the layers that you want to create.
Some people believe that superglue helps, but that option should also be avoided. It might help a time or two, although the skin damage from the adhesive is eventually worse.
2. Find Ways to Numb the Pain.
Most violinists rely on specific products to help dull the pain when they’re working to form calluses on their fingers.
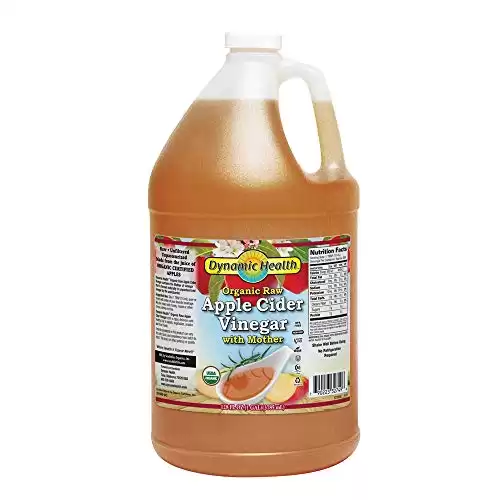
One of the best choices you can use in this category is apple cider vinegar, which is also helpful to have around for sore throats and sunburns.
If you soak your fingers in the apple cider vinegar for about a minute before and after playing, you’ll get some relief.
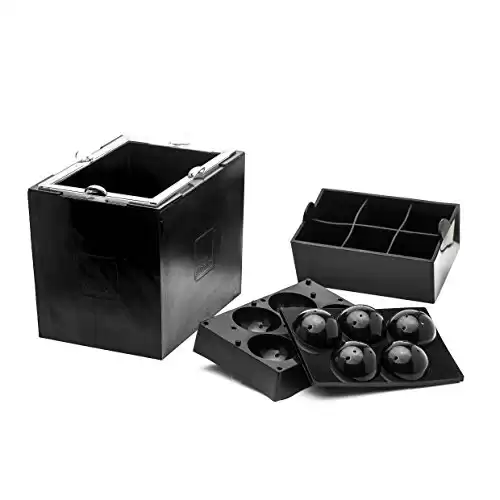
Another option is to press an ice cube into the painful areas before and after playing. It alleviates soreness, but it can be uncomfortable because of the cold temperatures.
The best choice is to use an ice-making set that creates spheres or cubes to hold as that will prevent the muscles in your palm and wrist from contracting and getting stiff.
Several professional creams and ointments are also available that offer numbing agents.
You’ll want to review what each product can do before purchasing it since some lotion-based products can stain the violin’s fingerboard.
3. Use Waterless Sanitizers.
When you wash your hands with soap and water frequently, your skin can dry out enough that the pressure on the strings causes the fingertips to crack.
Some items contain skin softeners to work against the callus formation you want to achieve.
Waterless sanitizers use alcohol to remove germs. Although using them too much can create the same result, it toughens the fingertips when used occasionally.
Another option is to apply rubbing alcohol directly to your fingertips after playing.
4. Think about Your String Pressure.
Many violinists tend to press their strings down too hard on the fingerboard when playing. This trait is most prevalent with beginners, but it is an outcome that can happen to anyone.
If you want to see if you’re pressing too hard, try to play a note or chord as normal while releasing the pressure. It’ll sound fine if you’ve been putting too much pressure on the fingerboard.
In addition to creating more pain than needed, this technique can lead some musicians to form a tense playing style with the violin. That method robs you of your ability to play quickly and efficiently.
Prolonged excessive pressure can even lead to tendonitis in the fingers. The only way to recover from that health issue is to stop playing altogether until your body recovers.
5. Use Salt Water to Harden the Skin.
Some violinists like to use salt water on their skin as a natural alternative to rubbing alcohol to harden the fingertips and ease some of the pain.
If you soak a cotton swab with the liquid, rub it over the affected areas about four times per day.
A couple of shakes from the saltshaker isn’t enough to create the results you want. There must be enough put into the water to no longer hold any more of the substance.
6. Play the Violin Whenever You Can.
Even if you can only play the violin for a few minutes each day, it’s better to keep at it than to take a day or two off.
The calluses formed on your fingertips require maintenance to continue their development. If you stop playing, they’ll begin to disappear.
Most people get the calluses they need for comfortable playing within a couple of weeks. The first day or two tend to be the worst. If you can make it through those moments, you’ll avoid turning your instrument into a bloody mess.
What Is the Best Way to Play the Violin?
When you want to learn how to play the violin correctly, starting that process with excellent posture and good mechanics is imperative.
Although it might be tempting to adjust your grip or make changes when your fingers hurt, you can injure yourself in other ways by not playing correctly.
If you’re ready to get started, here are the steps you can implement to reduce the likelihood that you’ll feel prolonged discomfort when playing.
| Tip to Follow: | Why It Matters: |
| Hold the violin and the bow correctly. | You’ll want to ensure that the movement in your hands and arms is functional and smooth. If you’re practicing with poor mechanics and a slumped posture, this habit can put more pressure on the springs. |
| Be in the habit of playing in tune. | Play each composition slowly enough to ensure that each note is played correctly. Once you start speeding up the tempo, continue to play by choosing the fingerings that feel comfortable to your hand. Stretching and straining could cause the wrong tones to come from the instrument. |
| Commit to good bowings. | It’s essential to know when you’ll go up or down with the bow, when to slur notes, and when to play staccato. Without this knowledge, there won’t be as much confidence in each movement. Stick to the fingerings and bowings at all times when practicing to learn the piece faster. |
| Repeat the correct version more than you play it wrong. | We all make mistakes when playing the violin. If you play the wrong note, repeat it with the right option. Don’t count repetitions where the same errors are made. You must get to a place where the correct version is the habit you’ve formed. |
It also helps to use a metronome when practicing with the violin. You’ll keep the tempo under control better while marking the notes to play at the correct beat.
If you start slow and work your way up to something faster, you can play at virtually any speed with enough practice.
Play the Violin for Three Hours to Improve
The best way to practice the violin is to set aside three hours each day. You’ll play the scales for the first hour, etudes for the second, and repertoire for the third. It takes that much time with the instrument to increase personal skill, especially for those who want to become professional musicians.
Choosing the correct violin to play is the final step to consider when protecting your fingers from harm.
When the instrument fits within a comfortable grip to avoid stretching and strain, you’ll have a more pleasant experience.
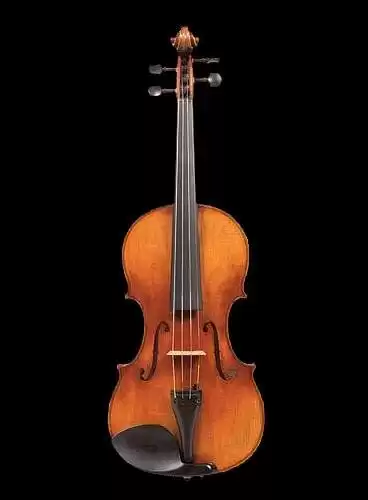
That’s why I keep the D Z Strad one-piece back Maestro at home to play and for the occasional gig. It combines spruce with an antique varnish to create a refined, crisp tone with plenty of power, depth, and color.
The violin uses maple sides and a one-piece back to reinforce all the sound elements you’d want in a professional instrument.
When you run the bow across conditioned strings, it feels and sounds much more seasoned than it is. You’ll get a Brazilwood bow, rosin, and a shoulder rest as part of the package.
After combining a high-quality instrument with the playing techniques needed to protect your fingertips, you can walk away from each performance with your fingers intact.


