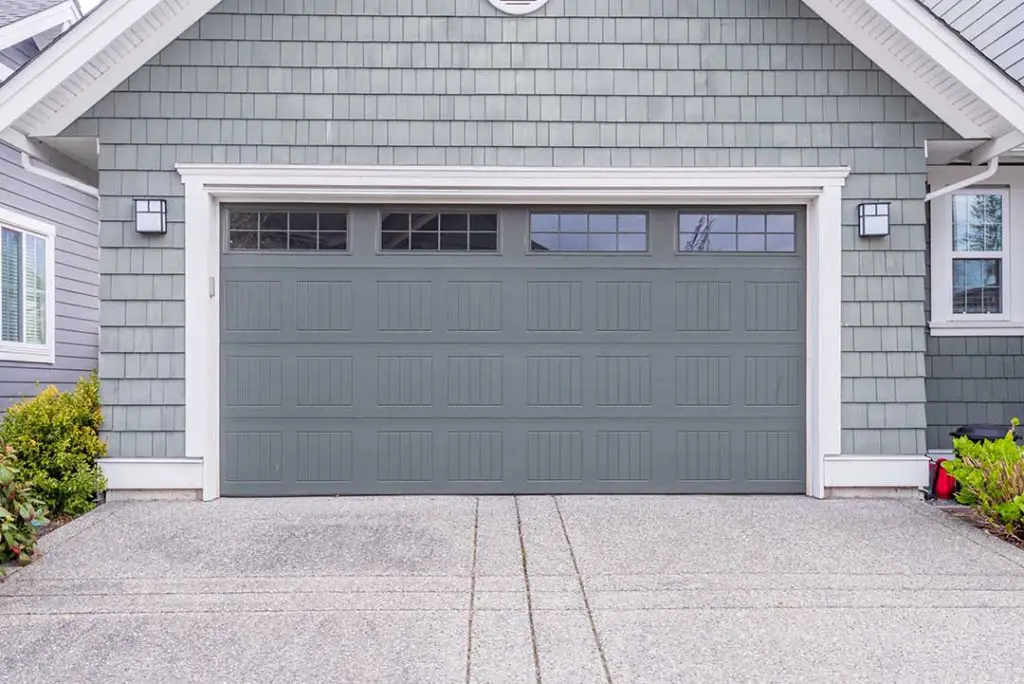
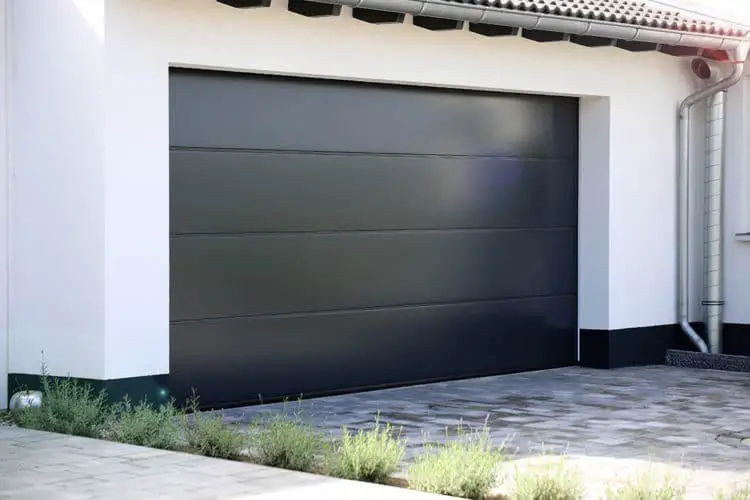
Your garage door is a significant protective barrier for your home. It keeps unwanted people, noise, and elements out when it is correctly sealed.
How can you know if your garage door provides an adequate protection level for your home?
A garage door requires side, top, and floor sealing to provide adequate protection. Measure the door at each point. Install the product according to the instructions given, usually with the thin side sliding into each gap. At the same time, the thick part creates a weather-resistant barrier.
Seal the Bottom of Your Garage Door
The fastest way to see if your garage door requires a seal is to wait for a sunny day.
Go into the garage, close all of the doors, and shut off the lights. If you see daylight coming through the structure, your seals require replacement.
You have several choices to consider if you need to seal the bottom of your garage door.
1- Garage Floor Seals
Threshold seals are a fast way to create a protective barrier against weather and pests. It closes the gap between the door and the floor without creating a trip or tire hazard.
The easiest way to install this seal is to mark an outline on your floor where the garage door sits.
Chalk or permanent marker is the best solution. Don’t use tape because it can interfere with the product installation.
- This seal is perfect for all door types and vehicle types
- It's easy to fit with instant results and a highly-effective weatherproof seal
- It will keep your garage dry and clean. Plus, it has a bright yellow safety strip
- It's suitable for various gap sizes and has anti-slip ridges for more safety
- So if you're looking for an effective way to keep your garage protected from the elements, look no further
Raise the garage door after you mark the outline. Affix the seal to the floor according to the manufacturer’s instructions.
Most items use epoxy to create a permanent bond, requiring between 4-48 hours to cure.
Once you have the seal placed correctly, lower the garage door onto the threshold. It helps to leave it there until the epoxy sets for the appropriate time.
2- Garage Door Brush Strip Seals
Some garage door bottoms are in poor condition because of moisture exposure. You cannot affix a seal to components with rot because it damages the structure. Your best solution in this circumstance is to use a brush strip.
Affix the brush strip to the inside bottom of your garage door according to the manufacturer’s instructions.
- Prevents the infiltration of sound, light, air, wind, rain, and snow
- Reduces loss of heat through doors, windows and skylights
- Contains the penetration of smoke and fumes
- Constructed from durable residual and UV stabilized rubber
- Seal Width: 1000mm (39.37")
- Seal Height: 78mm (3.07")
- Brush Height: 50mm (2")
- Groove Width: 5mm (0.2")
- Material: Aluminum Alloy, Nylon Brush
When the door closes, the brushes splay out on the ground to create a usable seal that protects your garage from the elements.
The key to a successful installation is to line up the brush strip at the correct height. You may need to drill pilot holes once you cut the product to an appropriate size to ensure a secure hold.
If you have a metal door, please remember to use the correct hardware to complete this step.
A brush strip does not provide outdoor protection to the garage door. You may be able to use some products with a bottom seal to ensure your home has another protective layer.
3- Door Bottom Seals
A garage door floor seal attaches to the bottom of your structure. Most products use adhesive to accomplish this task, although a few require nails, screws, or staples.
- Universal garage door bottom seal that will fit most standard sectional, roll-up, and tilt doors.
- Tool-free and easy installation
- High-quality materials that can withstand any weather
- Black EPDM synthetic rubber for extreme temperature conditions ranging from -40°F to roughly 240°F
- Very durable and helps prevent seepage
Clean the garage door before affixing the new seal. Any dirt or debris that gets between the structure and your product will adversely impact its integrity.
There are two application methods you can use to affix the seal.
- Close the garage door and make a chalk outline around the frame.
- Raise the garage door halfway to apply the product directly.
Unless you have a wood garage door, options that use nails or screws should be avoided for DIY installs to reduce the risk of damage.
Affix the seal to the garage door’s bottom according to the instructions given on the product. Once you have the item attached, close the door firmly so that it rests against your concrete slab.
It may take between 24-48 hours for it to cure to a usable state.
Do not open the garage door at all while you have an adhesive product curing. Removing the pressure from the seal may ruin the item and damage your entrance.
You’ll also need to start over on your work.
If you want to avoid glue and screws or nails when installing a new seal, a U-shaped clip-on product offers positive results.
After measuring the door, cut the item to size and attach it using the manufacturer’s instructions.
Clip-on products are effective against weather intrusions. Some pests, such as squirrels and raccoons, have been known to remove them when seeking entry to a home.
Seal the Garage Door Sides
Side gaps start forming in older garage doors because of regular wear-and-tear. Framing issues, damage, and structural shifting can also contribute to this problem.
Your best option to seal or soundproof a garage door side is to use weather stripping.
- Easy to install, apply, and cut to size
- Provides insulation from heat, cold, vibration, and noise
- Materials: CR foam, Neoprene
- Resists deformation
- Can be used in temperatures ranging from -50°C to 150°C
- Perfect for home, industrial, and commercial use
After selecting a product specifically designed to seal a garage door, measure the door jamb to ensure an accurate measurement. It helps to follow the rule to “measure twice, cut once” with this task.
Once you have the weatherstripping cut to the appropriate length, use a rubber adhesive to affix it in the proper location. These items are typically sold separately.
You must make sure that no glue is on the top of the weatherstripping or the door.
Close the garage door firmly once the weather stripping is installed correctly. It takes about 24-48 hours for the adhesive to cure.
Seal the Top of Your Garage Door
The only way to isolate noise and pests entirely from your home is to have an appropriate seal on the top of your garage door.
- The PVC material has UV inhibitors to ensure the garage sealant won't deteriorate from sunlight exposure and maintains its flexibility at very low temperatures
- Includes nails for easy installation
- Can be painted to match your garage
- Length: 26 ft
- Width: 2.25"
You can tell if this work is necessary because sunlight shines through a gap at the top of the door when it isn’t appropriately sealed.
Although weatherstripping can work in a pinch to complete this task, garage door top seals are a better product to use. It conforms to your door to create an airtight seal.
You’ll notice improvements to your garage’s temperature profile immediately once you have this product installed.
The best way to install the top seal is to apply the product to the upper frame of your door. If you place the item on the garage door, it may tear off in the rails, springs, or rollers, causing significant damage.
Measure twice, cut once, and affix the seal according to the manufacturer’s instructions.
It helps to make sure no glue is on the product or door before allowing the adhesive to dry. It may take up to 72 hours to cure since this item typically installs against gravity’s forces.
How and Why You Should Insulate a Garage Door
A well-sealed garage door can keep weather and pests out. When you add insulation to this structure, the interior space retains heat or cooled air better for a more comfortable environment.
When your garage has a regulated temperature profile, this outcome assists the rest of the home to have the same.
That means your utility costs can drop by up to 20%, depending on the energy leakage you currently experience at this entry point.
Adding insulation to your garage door even provides assistance with soundproofing for anyone living in a noisy neighborhood.
Most garage door insulation projects provide limited benefits because the entire structure lacks this support.
If you want to improve the interior environment, you may need to finish the floor and walls before you’ll notice temperatures starting to regulate.
Anyone using their garage as living space should maximize the R-value of the door, floors, walls, and ceiling as much as possible.
■ What Are the Types of Insulation for Garage Doors?
Garage doors use three primary insulation types: reflective, foam board, and batt.
Each option comes with a specific set of advantages and disadvantages to consider. All of them are useful for homeowners with noise isolation and energy efficiency goals.
Local building codes may decide which option you get to use because of R-value requirements.
1- Reflective Insulation
Choose this garage door insulator if you need to reflect radiant heat. It usually has reflective foil on one side, similar to what you’d use to wrap a water heater.
This option works best in hot climates because it keeps sunlight energy from penetrating to the home’s interior.
2- Foam Board Insulation
This option requires you to install polystyrene panels to your garage door. It provides a high R-value insulative product without adding substantial thickness.
Manufacturers typically offer this item in pre-cut sections or a sheet so that you can cut it to an appropriate size.
3- Batt Insulation
You can use this option if your garage door has containment structures similar to joists in a wall.
It is made from fiberglass, backed by paper or foil, and works as a vapor barrier. Choose this option if a higher energy-efficiency level is what you want for your home.

Is Your Garage Door Ready for an Improvement?
An improperly sealed garage door creates a damage risk for your home. It can let moisture in, invite pests to visit, and increase your heating and cooling costs.
These ideas can help you to resolve this issue with your DIY skills. Most garage doors can get sealed correctly with an afternoon of work.
Are you ready to get started on this project?


